테스트코드로 개발속도 올리기 1 (persistence test-리포지터리 테스트1)
원본글은 github에 있습니다.
관련 코드도 확인하실 수 있습니다.
먼저 테스트 코드 없이, 아주 간단한 블로그를 만들어보자.
java, spring boot, jpa를 사용해서 대충대충 만들어보자.
먼저 spring initializr를 이용해서 spring web, jpa, lombok 를 추가해서 프로젝트 베이스를 만들었다.
나는 서비스(기능)을 만들때 일반적으로 데이터베이스 영역부터 만들었다.
블로그 글을 담을 entity
@Entity
@Table(name = "Post")
public class Post {
    @Id
    @GeneratedValue(strategy = GenerationType.IDENTITY)
    @Column(name = "ID")
    private Long id;
    @Column(name = "CATEGORY_ID")
    private Long categoryId;
    @Column(name = "TITLE")
    private String title;
    @Column(name = "CONTENT")
    private String content;
    @Column(name = "REG_DT")
    private LocalDateTime createdAt;
    @Column(name = "UPT_DT")
    private LocalDateTime modifiedAt;
}
글에 대한 카테고리를 담을 entity
@Entity
@Table(name = "Category")
public class Category {
    @Id
    @GeneratedValue(strategy = GenerationType.IDENTITY)
    @Column(name = "ID")
    private Long id;
    @Column(name = "NAME")
    private String name;
    @Column(name = "REG_DT")
    private LocalDateTime createdAt;
    @Column(name = "UPT_DT")
    private LocalDateTime modifiedAt;
}
를 먼저 만들었다. 대충의 DB설계가 되었다.
이제 저 엔티티들을 CRUD하는 repository 클래스를 만들자.
public interface PostRepository extends JpaRepository<Post, Long> {
}
public interface CategoryRepository extends JpaRepository<Category, Long> {
}jpa 라서 아주 간단하다.
이제 저 repository를 사용할 service를 만들자.
@Service
@RequiredArgsConstructor
public class BlogService {
    private final CategoryRepository categoryRepository;
    private final PostRepository postRepository;

    public List<Category> getCategoryAll() {
        return categoryRepository.findAll();
    }

    public List<Post> getPostAll() {
        return postRepository.findAll();
    }

    public List<Post> getPosts(Long categoryId) {
        return postRepository.findByCategoryId(categoryId);
    }
}
모든 카테고리조회, 모든 블로그글 조회, 특정 카테고리의 블로그글 조회 메소드를 만들었다.
특정 카테고리의 블로그글 조회기능은 repository에 메소드 추가가 필요하다.
public interface PostRepository extends JpaRepository<Post, Long> {
    List<Post> findByCategoryId(Long categoryId);
}
이제 controller를 만들자.
@RestController
@RequiredArgsConstructor
public class BlogController {
    private final BlogService blogService;

    @GetMapping("/categorys")
    public List<Category> getCategorys() {
        return blogService.getCategoryAll();
    }

    @GetMapping("/category/{categoryId}/posts")
    public List<Post> getPosts(@PathVariable Long categoryId) {
        return blogService.getPosts(categoryId);
    }
}
모든 카테고리 조회, 특정 카테고리의 블로그글 조회 api를 만들었다.
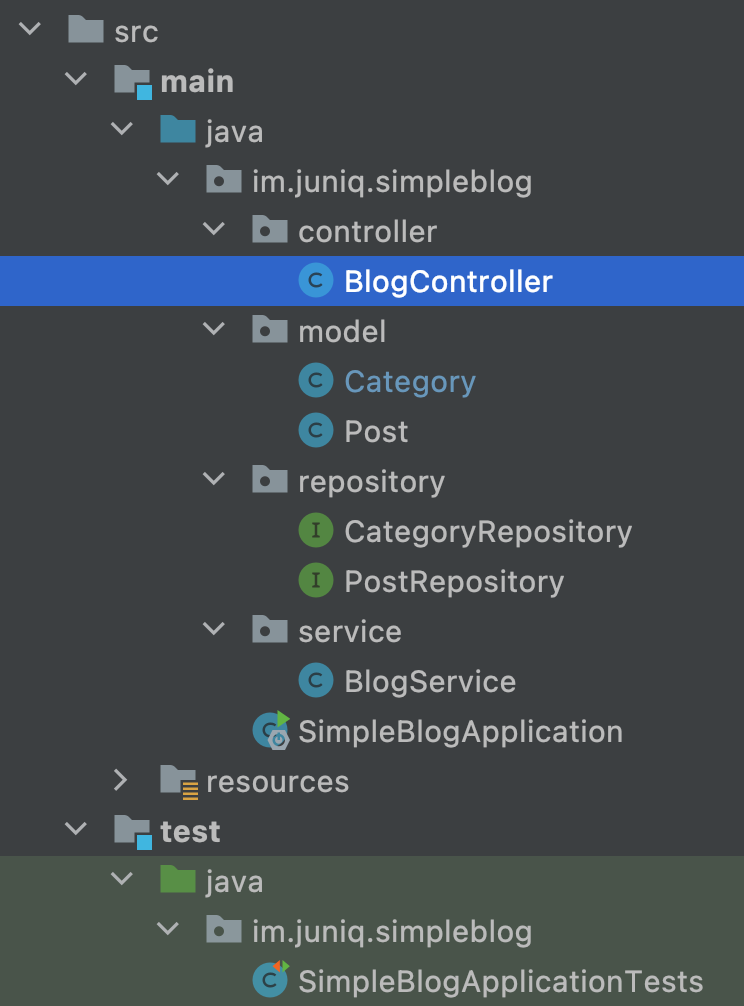
패키지구조는 다음과 같다.
이제는 애플리케이션을 실행해서 잘 동작하는지 테스트해보자.
애플리케이션을 실행해봤다.
***************************
APPLICATION FAILED TO START
***************************
Description:
Failed to configure a DataSource: 'url' attribute is not specified and no embedded datasource could be configured.
Reason: Failed to determine a suitable driver class

Action:
Consider the following:
 If you want an embedded database (H2, HSQL or Derby), please put it on the classpath.
 If you have database settings to be loaded from a particular profile you may need to activate it (no profiles are currently active).
DB설정이 없다고 하는 것 같다. H2로 빠르게 설정해보자.
build.gradle
dependencies {
    implementation 'org.springframework.boot:spring-boot-starter-data-jpa'
    implementation 'org.springframework.boot:spring-boot-starter-web'
    compileOnly 'org.projectlombok:lombok'
    annotationProcessor 'org.projectlombok:lombok'
    testImplementation 'org.springframework.boot:spring-boot-starter-test'
    implementation 'com.h2database:h2:1.4.200'
}
맨 밑에 h2 추가
application.properties
spring.h2.console.enabled=true
spring.h2.console.path=/h2-console

spring.datasource.url=jdbc:h2:~/test;
spring.datasource.driverClassName=org.h2.Driver
spring.datasource.username=sa
spring.datasource.password=
spring.jpa.database-platform=org.hibernate.dialect.H2Dialect
yml를 선호하지만 인터넷 검색했더니 properties만 눈에 띄었다. 빠르게 가자.
서버를 재가동해보자. 이제 빌드가 성공한다!
인텔리제이는 쉽게 http api를 테스트할 수 있는 기능을 제공한다.
controller method옆에 콩모양을 클릭한다.
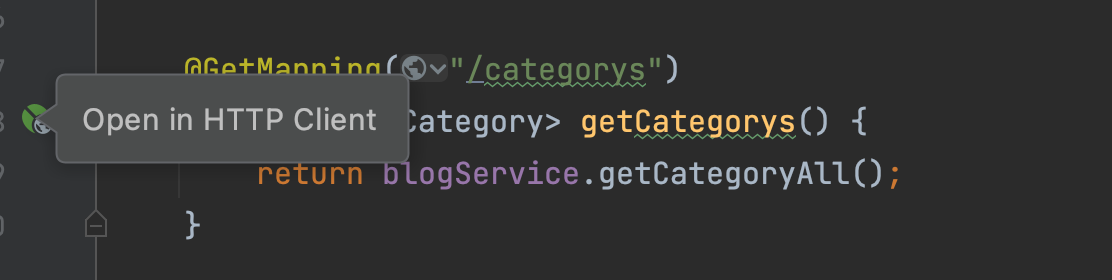
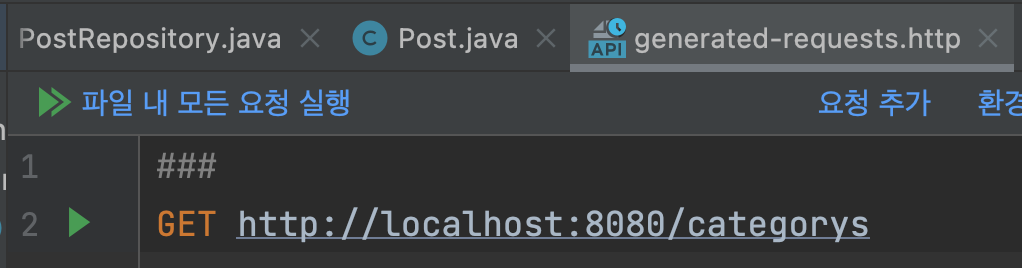
왼쪽에 실행버튼을 누르면(또는 맥에서 ‘option’+’enter’) api가 실행된다.
오류발생
2022-01-16 12:26:31.236 ERROR 11378 --- [nio-8080-exec-6] o.h.engine.jdbc.spi.SqlExceptionHelper : Table "CATEGORY" not found; SQL statement:
select category0_.id as id1_0_, category0_.reg_dt as reg_dt2_0_, category0_.upt_dt as upt_dt3_0_, category0_.name as name4_0_ from category category0_ [42102-200]
2022-01-16 12:26:31.247 ERROR 11378 --- [nio-8080-exec-6] o.a.c.c.C.[.[.[/].[dispatcherServlet] : Servlet.service() for servlet [dispatcherServlet] in context with path [] threw exception [Request processing failed; nested exception is org.springframework.dao.InvalidDataAccessResourceUsageException: could not prepare statement; SQL [select category0_.id as id1_0_, category0_.reg_dt as reg_dt2_0_, category0_.upt_dt as upt_dt3_0_, category0_.name as name4_0_ from category category0_]; nested exception is org.hibernate.exception.SQLGrammarException: could not prepare statement] with root cause

org.h2.jdbc.JdbcSQLSyntaxErrorException: Table "CATEGORY" not found; SQL statement:
select category0_.id as id1_0_, category0_.reg_dt as reg_dt2_0_, category0_.upt_dt as upt_dt3_0_, category0_.name as name4_0_ from category category0_ [42102-200]
테이블을 못찾았다고 한다.
application.properties 에 다음을 추가해서 테이블을 생성하게 하자.
spring.jpa.hibernate.ddl-auto=update
다시 실행해 api를 호출해본다.
http://localhost:8080/categorys

HTTP/1.1 200
Content-Type: application/json
Transfer-Encoding: chunked
Date: Sun, 16 Jan 2022 03:38:18 GMT
Keep-Alive: timeout=60
Connection: keep-alive

[]
오류가 발생하지 않았다. 하지만 응답데이터가 없다. DB에 데이터가 없으니 당연하다.
블로그글 쓰기기능을 추가할 수도 있지만, controller, service등등을 만들려니 영귀찮다.
h2 console 로 접속해서 데이터를 직접 insert 하자.
insert into category(name, reg_dt, upt_dt) values ('test name', current_date(), current_date());
데이터 들어간거 확인했고 다시 api를 실행해보자.
http://localhost:8080/categorys

HTTP/1.1 200
Content-Type: application/json
Transfer-Encoding: chunked
Date: Sun, 16 Jan 2022 03:56:18 GMT
Keep-Alive: timeout=60
Connection: keep-alive

[
{}
]
뭔가 응답값은 바뀌었는데 의도한 응답이 오지 않는다. 콘솔로그에도 아무것도 찍히지 않는다.
당황스럽다. 쿼리는 제대로 실행됬을까? 로그가 나오도록 설정을 바꿔야 될까? 어느부분이 문제일까?
로그를 찍기전에 entity클래스에 getter 메소드가 없다는 게 떠올랐다. entity클래스를 api의 응답으로 사용하기에, entity클래스를 직렬화(jackson)할 수 있어야 한다.
@Entity
@Table(name = "Category")
@Getter
public class Category {
서버를 재가동하고 api를 실행해본다.
http://localhost:8080/categorys

HTTP/1.1 200
Content-Type: application/json
Transfer-Encoding: chunked
Date: Sun, 16 Jan 2022 05:50:56 GMT
Keep-Alive: timeout=60
Connection: keep-alive

[
{
"id": 1,
"name": "test name",
"createdAt": "2022-01-16T00:00:00",
"modifiedAt": "2022-01-16T00:00:00"
}
]
의도한 응답이 나왔다!
매우 간단한 블로그 애플리케이션을 만들어보았다.
이제는 테스트코드를 이용하는 방식으로 다시 만들어 보자.